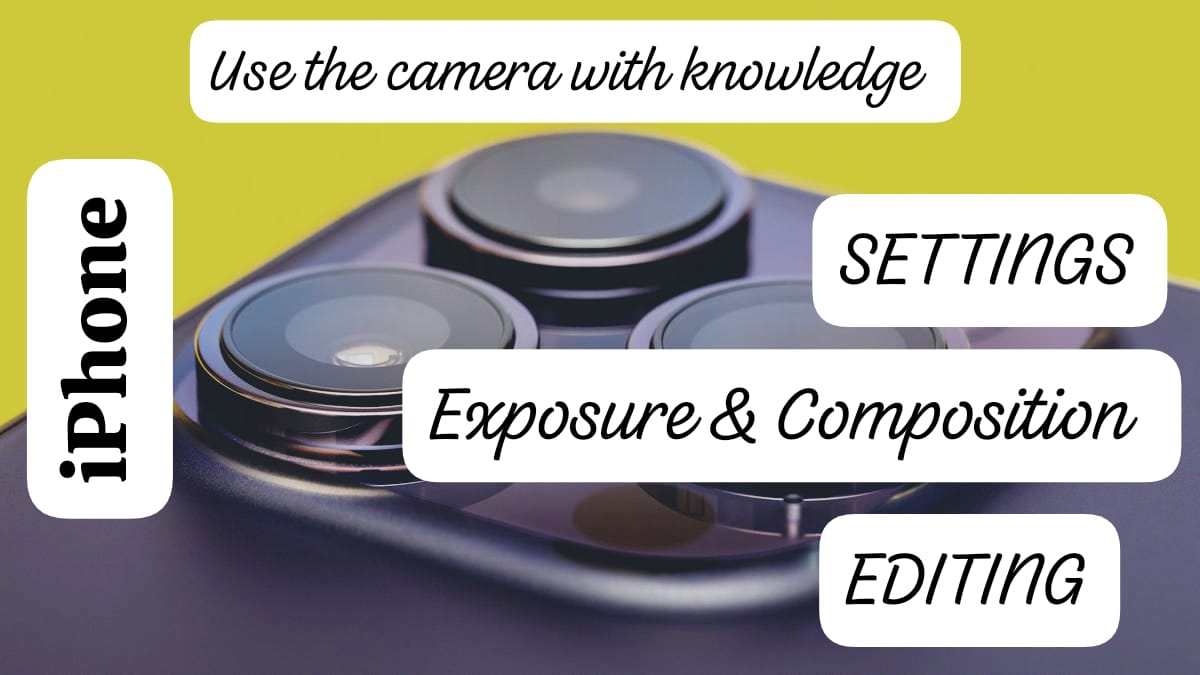
Here are three things which you can very easily do to make your iPhone photos much more beautiful and, in a way, professional. So, as we know, iPhone is always appreciated for their cameras and we have some tricks which will make your photos much more professional.
What to do with the settings?
So the first thing which you can do is make a few changes in the camera setting which will instantly give a new vibe to your photos. The camera capture needs to be kept at a high efficiency which you can find as you enter into the camera formats. In setting, the second step that you need to do is enable the Apple Pro raw. This option will open up a huge number of keys which will further give you access to buttons while you go back to the camera.
The third thing which you need to do is within this setting, you can use 48 megapixels for your photos, which will provide a pure quality to your photos. You can also go and turn the apple progress on which is basically used for videos. However, you can keep it on, which will further give you the option of using it. So, in videos, a suggestion is that if you like to do some processing of the video after shooting it, it is always better to keep the HDR off.
Coming to the next part in the setting, we have a preserves setting which also plays a huge part. The preserves setting helps you, as the name suggests, preserve the setting which you changed. After making certain customized changes, once you close your camera app, all the customized settings just come to default. The default option is what you get until you shave the preserve setting on. There is always a personal choice, however, keeping creative control, macro exposure and night mode on can also help you. You can also turn on the grid which will further help you with the composition and also provides a grid of 3×3.
What about the action part?
Now let’s move on to the shooting part, which is all about action. So the two most important components of shooting a photo are exposure and composition. So, while clicking a photo, the first thing you can do is click on the object and try to decrease or increase the light setting of the phone, which will give a better exposure and balance the composition of the photo.
Exposure:
Another way of doing this on an iPhone is to hit the arrow which is present at the top of the screen and click the plus minus sign. This will show you the exposure compensation menu. One of the best things to do here is to put it at minus 0.3. However, you can always use this to see which is the perfect one for your photo. Here as well, if your preserve setting on your iPhone is on then it will keep your setting always customized.
Composition:
The second part of the action is to give a better composition to your photo. There is a rule of thirds which says to keep your subject to the left or right of an image. The grids which are basically the lines which you open the camera app is what helps you in this section. All you have to do is align the subjects of your photo to one of those lines. One of the best things you can do is to crouch down a little instead of taking the photo at eye level, if you are taking a photo in the middle of a road or something.
How about editing?
The last part which can really do a huge change to a photo which don’t even seem good. So when you go to your iPhone photo editing options you will be able to make a huge number of changes as well, which will again lead to a big change. You can adjust the brightness and give a proper exposure to the photo which either seems very dark or very bright. You can put in some contrasts as well by adjusting the darkness and white options.
To bring out the thematic look to the photos, you can open up the mixer in the editing option and use the color options and decrease or increase the texture of the colors, which will further help you to give a much more prominent thematic look. Apple’s iPhone has much more editing options as well when compared to other models. There are a huge number of editing options which you can explore to make your photo much more professional.
The idea of editing is not something which makes the photo fake. It is rather something which can help your photo look much more real and aesthetic. The rawness of the photo does not fade away with editing. The editing lets it be heavy or very minimal can also lead to huge changes as well.
Its all about exploration-
There are many more options which might lead to huge confusion as the iPhone is seen to be coming with so many options. However, these rules and regulations are not laws and must not be strictly followed. These are some settings which are for your knowledge and, in turn, will help you understand your iPhone camera setting in a better way. There are many more experiments which you can do with your grids. There are ways in which you can angle your phone which will give you different results.
The main aim in the beginning is to know all the settings and options which are provided by Apple which will make your photo more beautiful. The camera setting needs not be done step by step, but you just need to know that Apple provided all these options. The article is to make you aware of the options which are available on your iPhone which you might not even know.
Conclusion
So dig into the setting and explore all types of options available. Test all the options and always remember to keep the preserve setting on, which will prevent the app from getting to default mode. This will save your time and efforts as well. These are some shortcut knowledge that you can easily use while going through your setting of the iPhone camera.